A clutter-free workspace is essential for productivity and creativity, and one of the most efficient ways to achieve this is by implementing a well-designed desk organizer. If you're a Cricut enthusiast, you can create your own custom storage system using the versatile cutting machine. A DIY Cricut desk organizer is a thoughtful and practical project that can be completed in a few hours, and this article will guide you through the process. Unlock Your Cricut's Potential With A Well-Designed Desk Setup
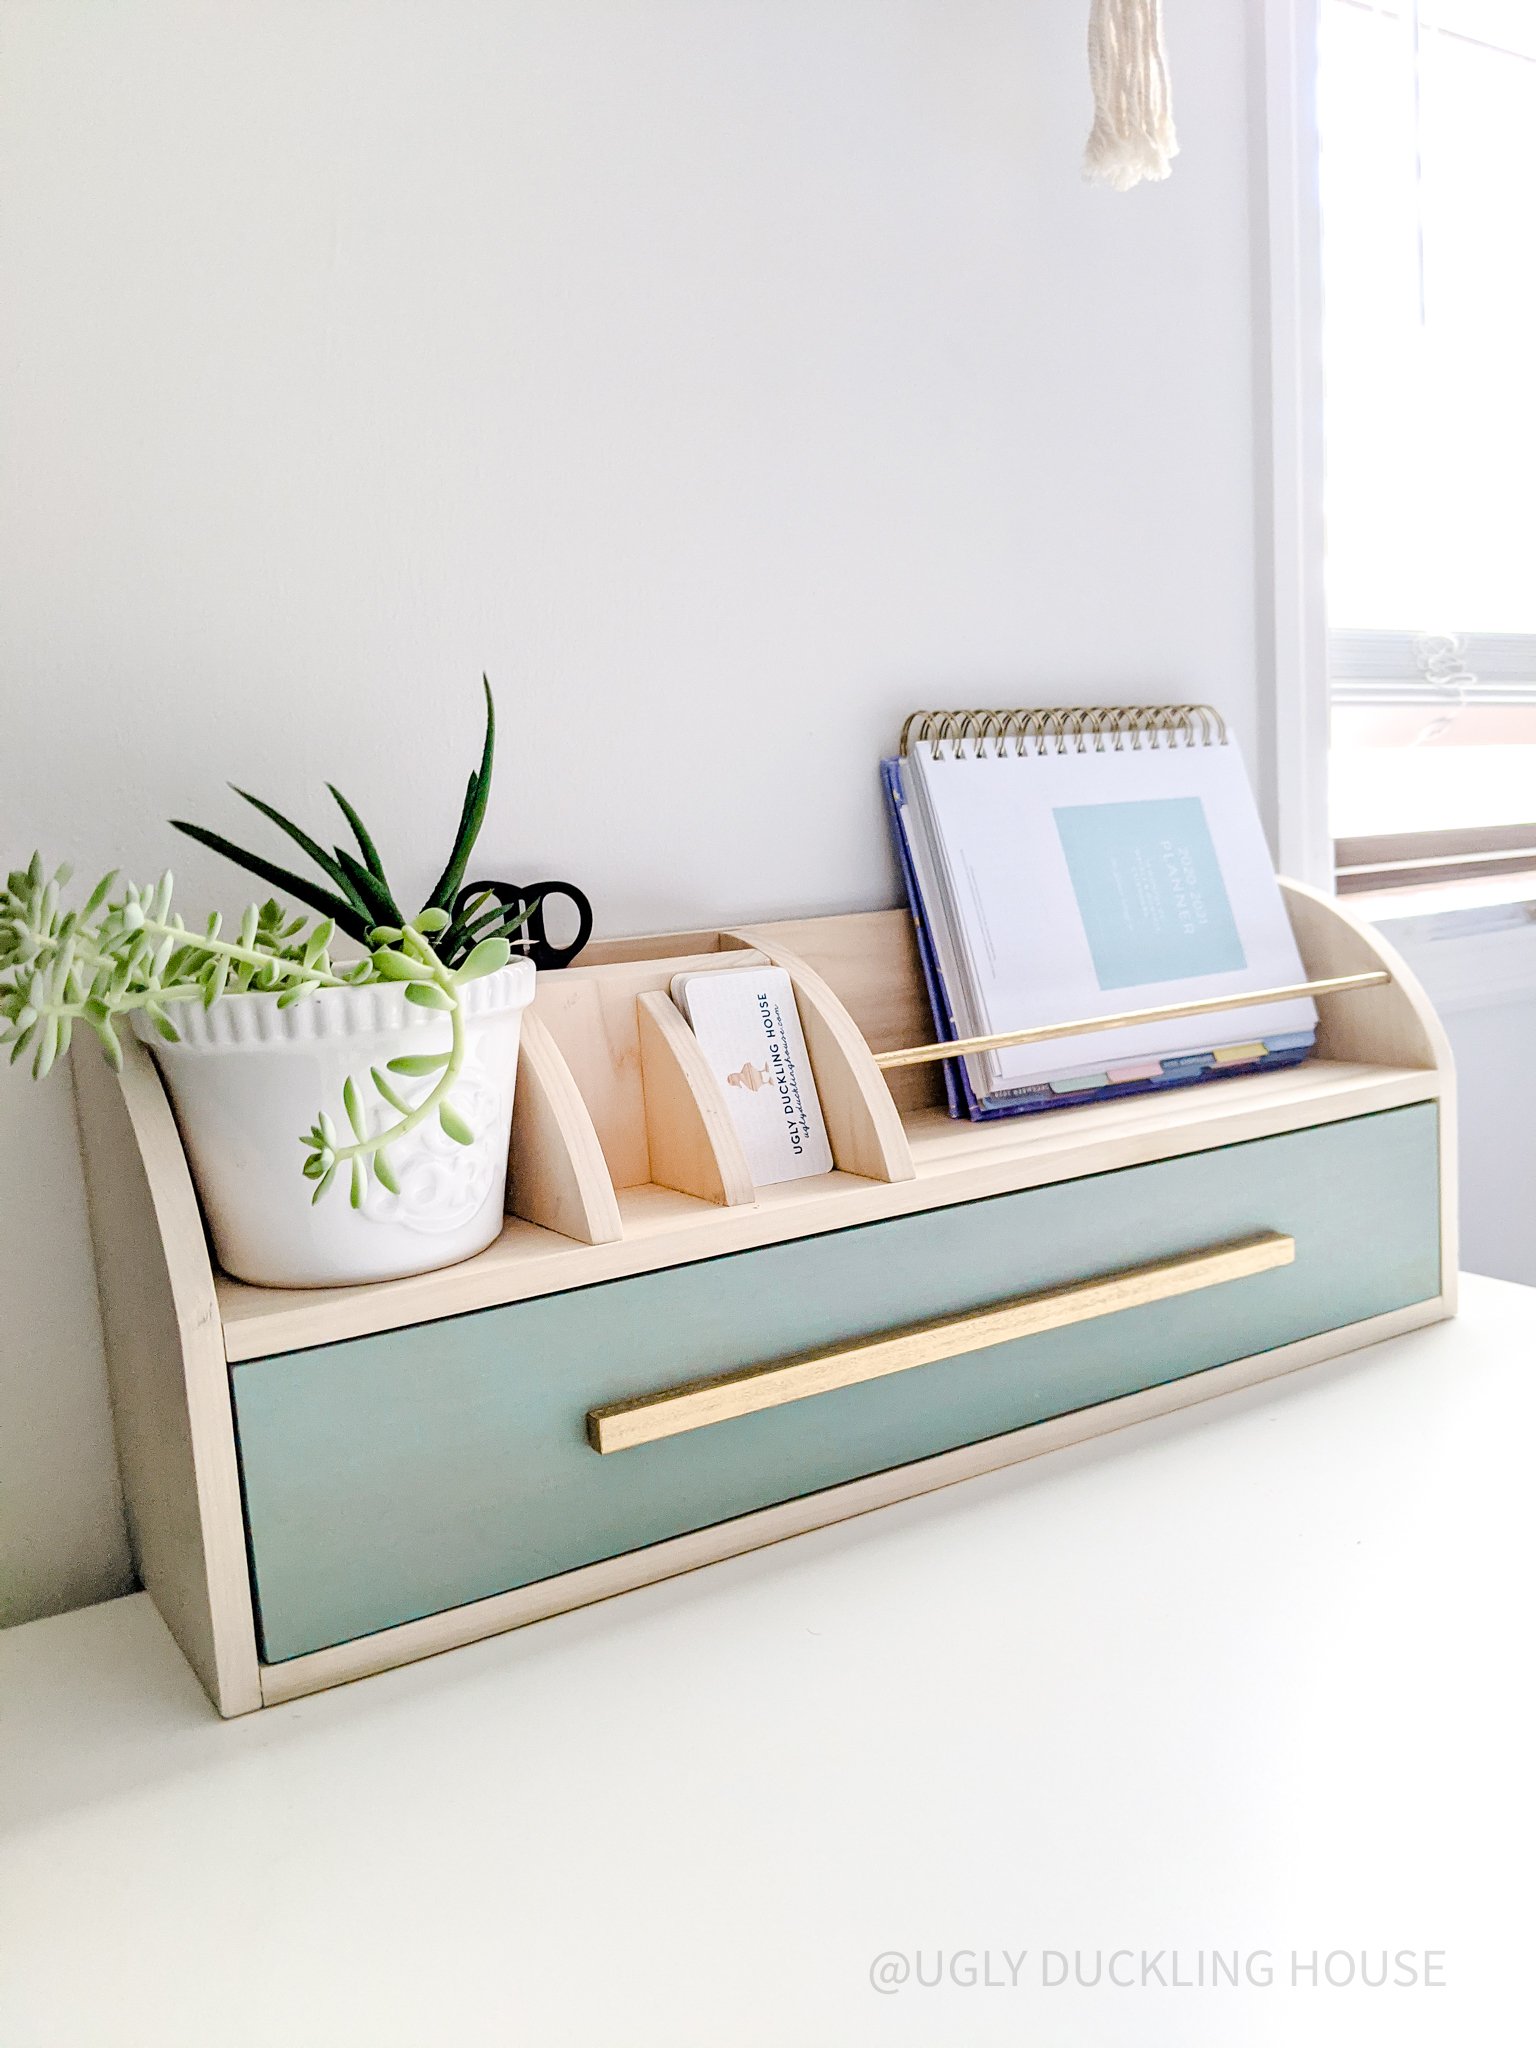
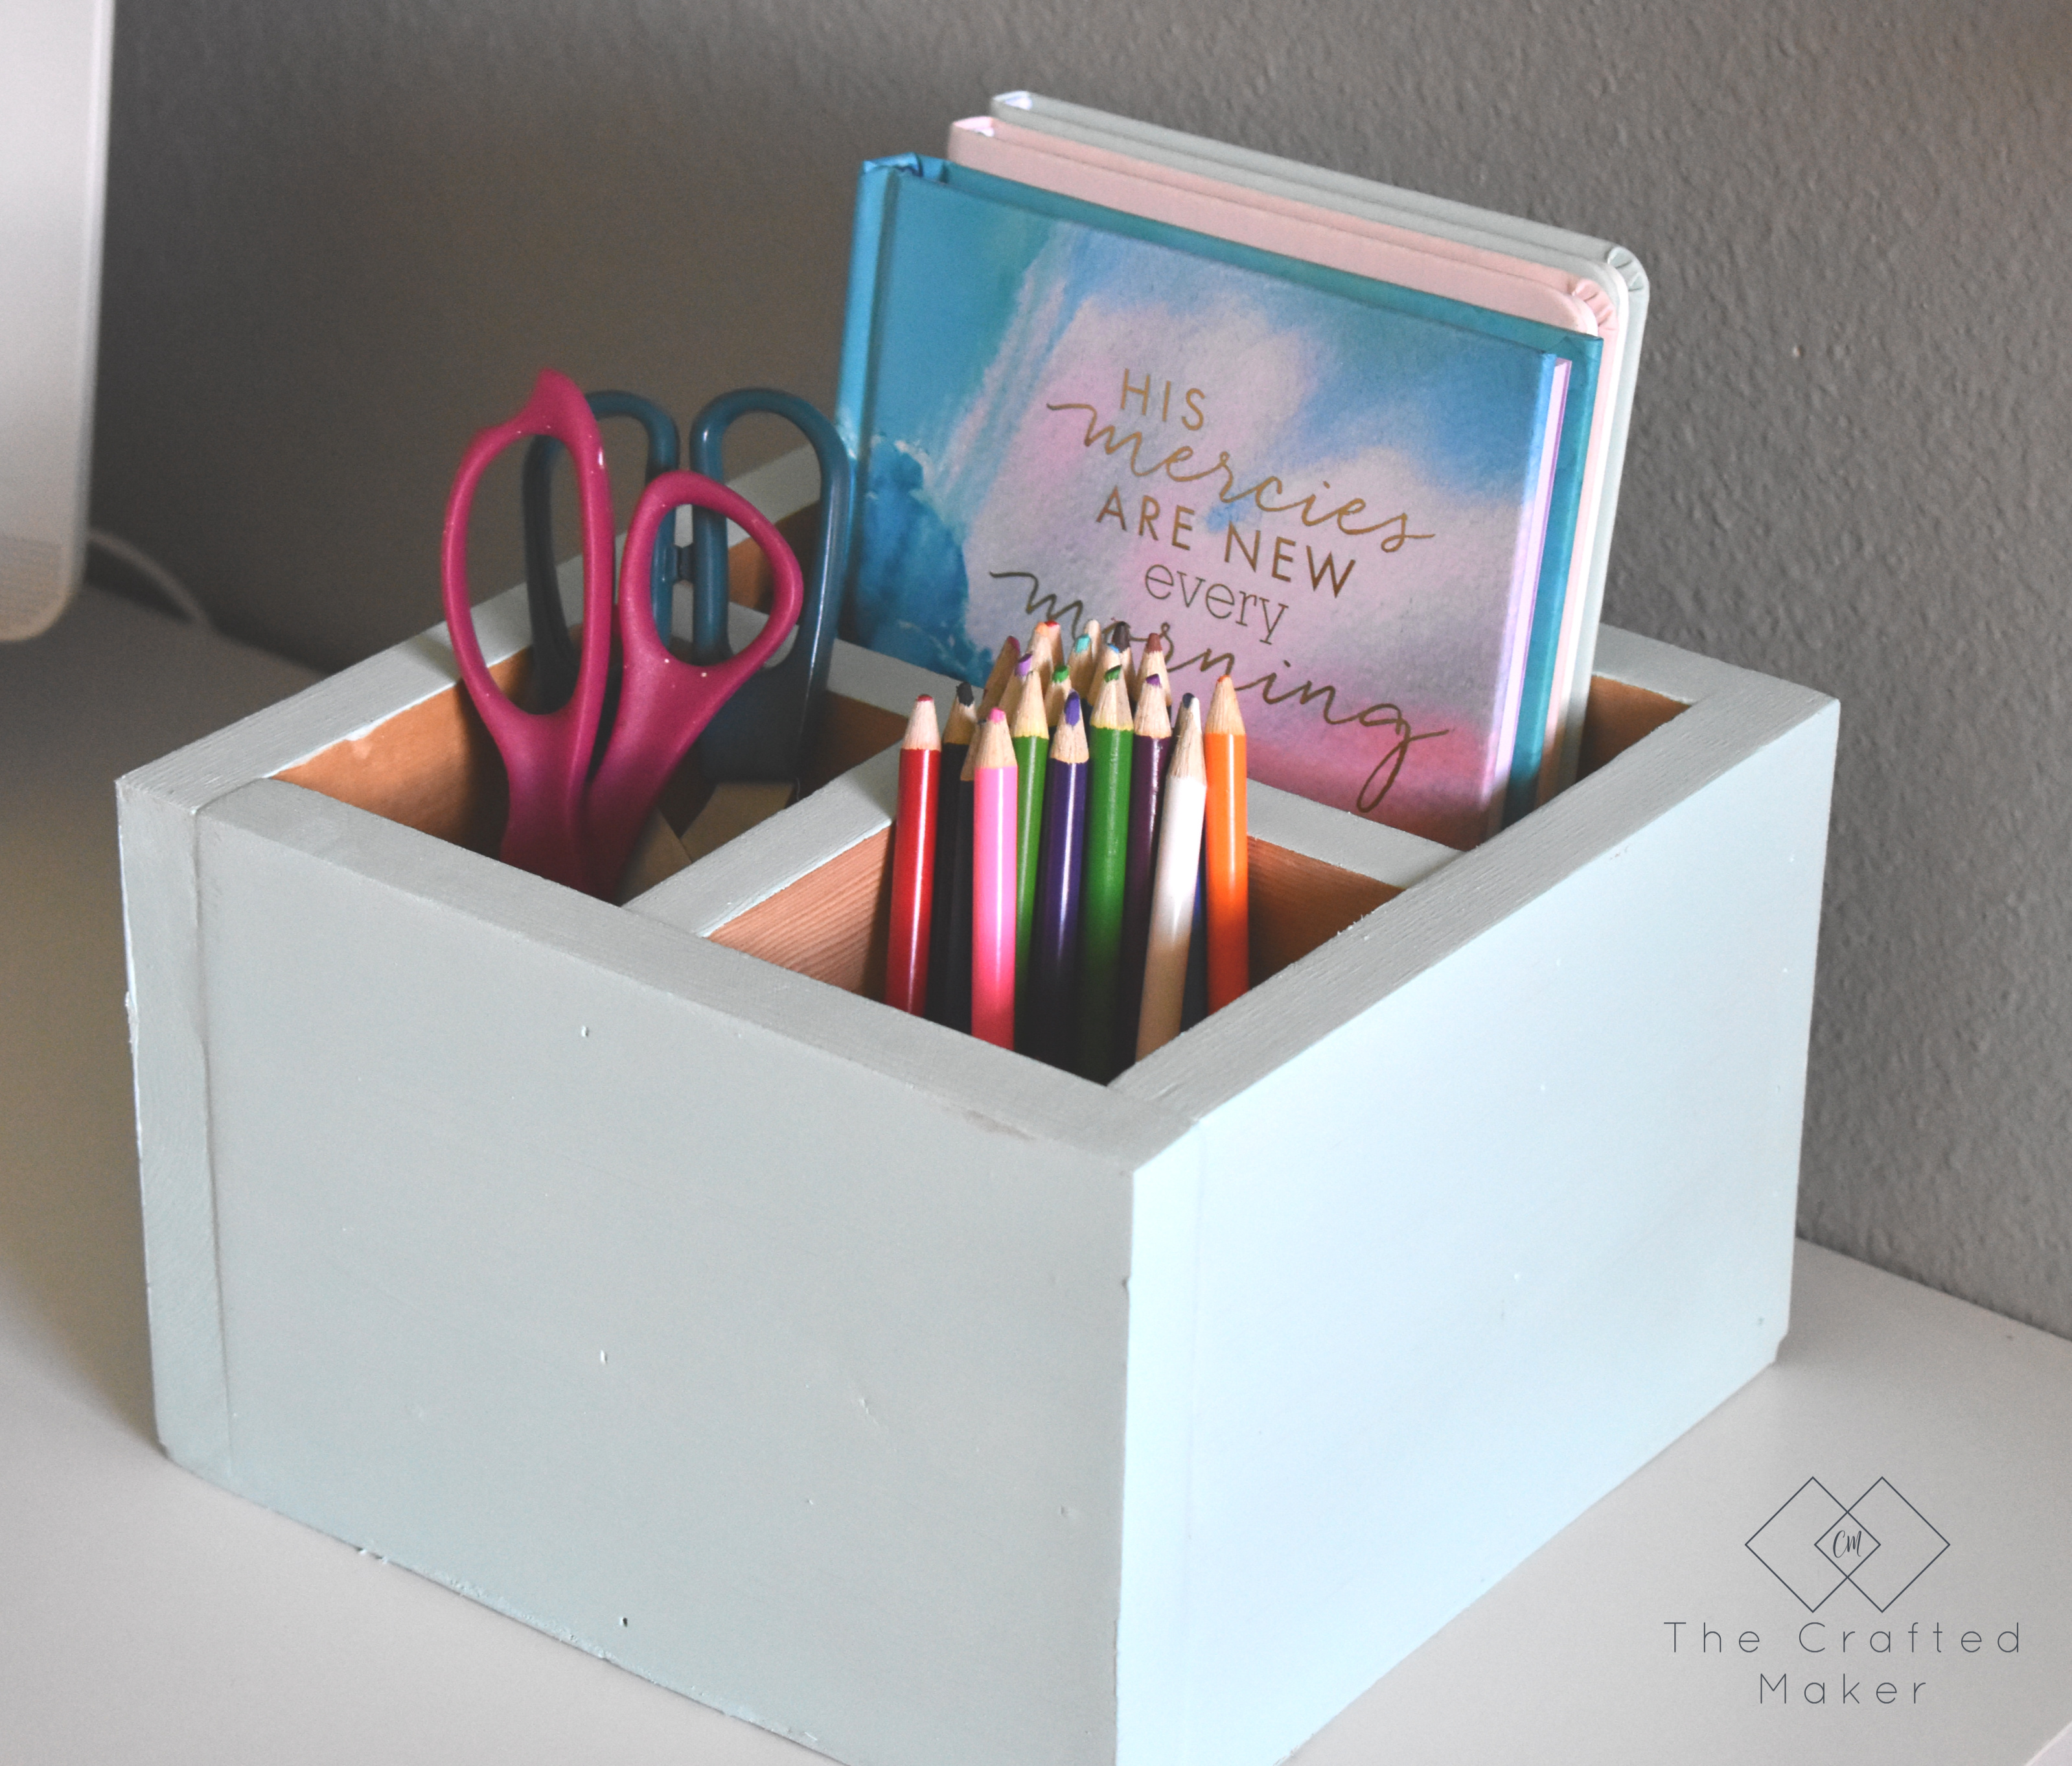
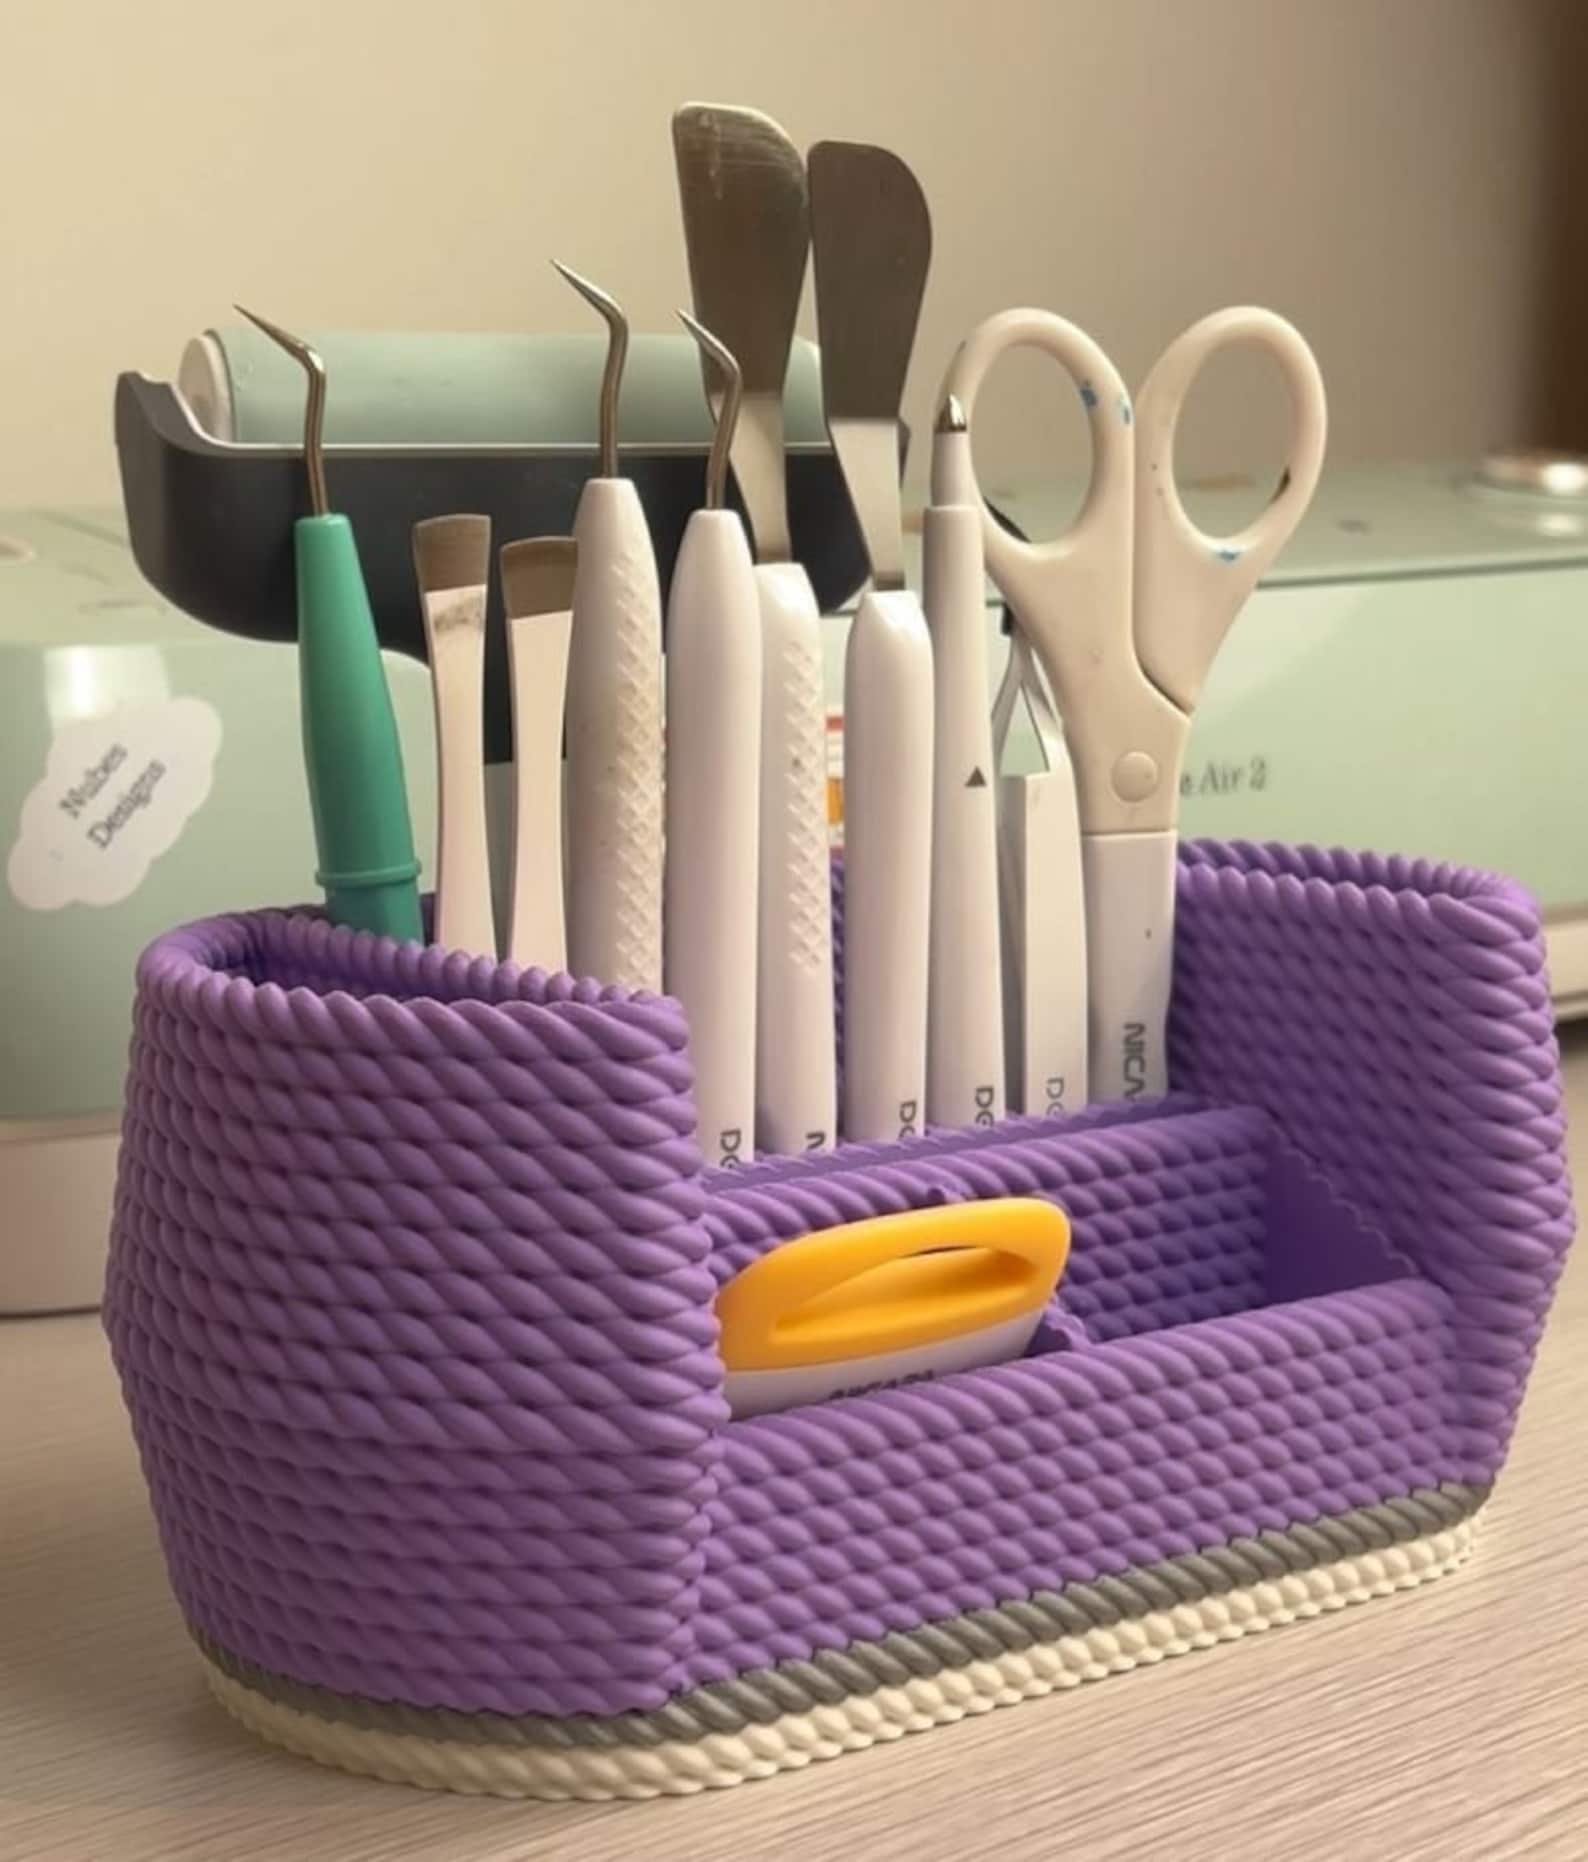
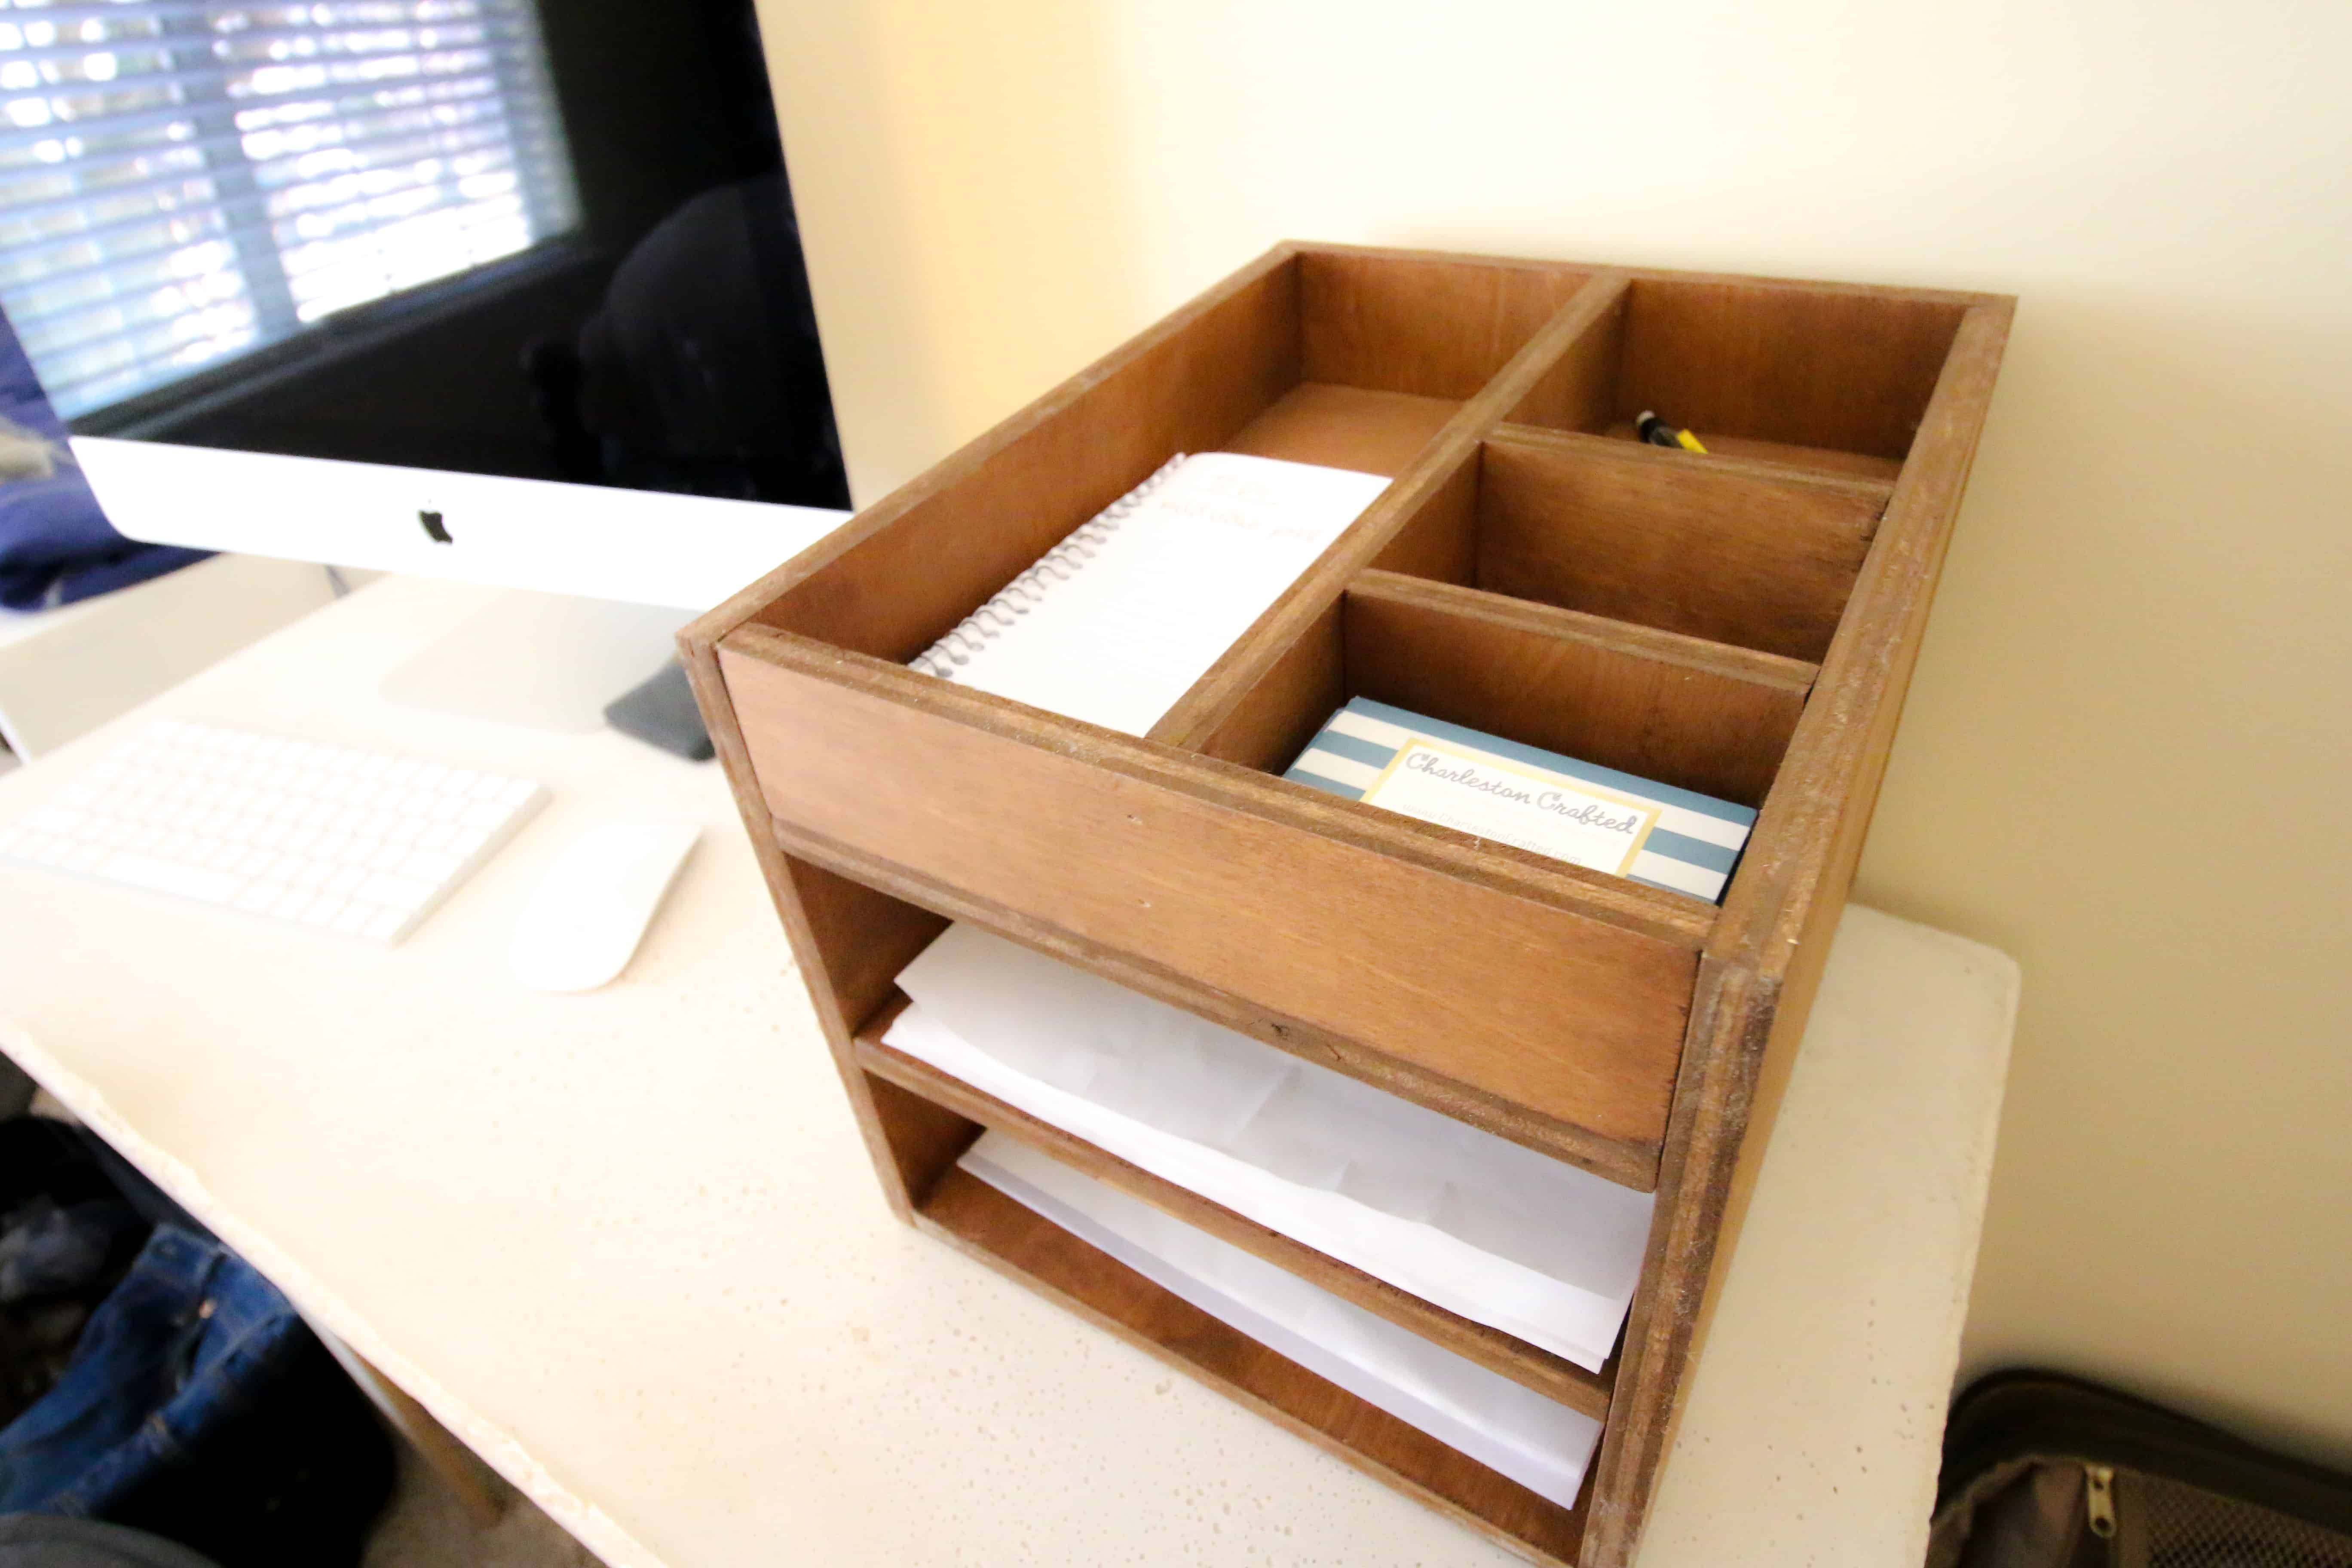
To start, you'll need a few basic materials: a Cricut machine, some wooden planks or crates, a whiteboard or chalkboard, and a Decorative trim. You can customize the design and size of your organizer to fit your specific workspace and storage needs. The key is to create a system that keeps your tools, papers, and other essentials within easy reach, allowing you to focus on the projects that bring you joy. One of the benefits of a DIY Cricut desk organizer is that it allows you to put your creativity into practice while still staying organized.
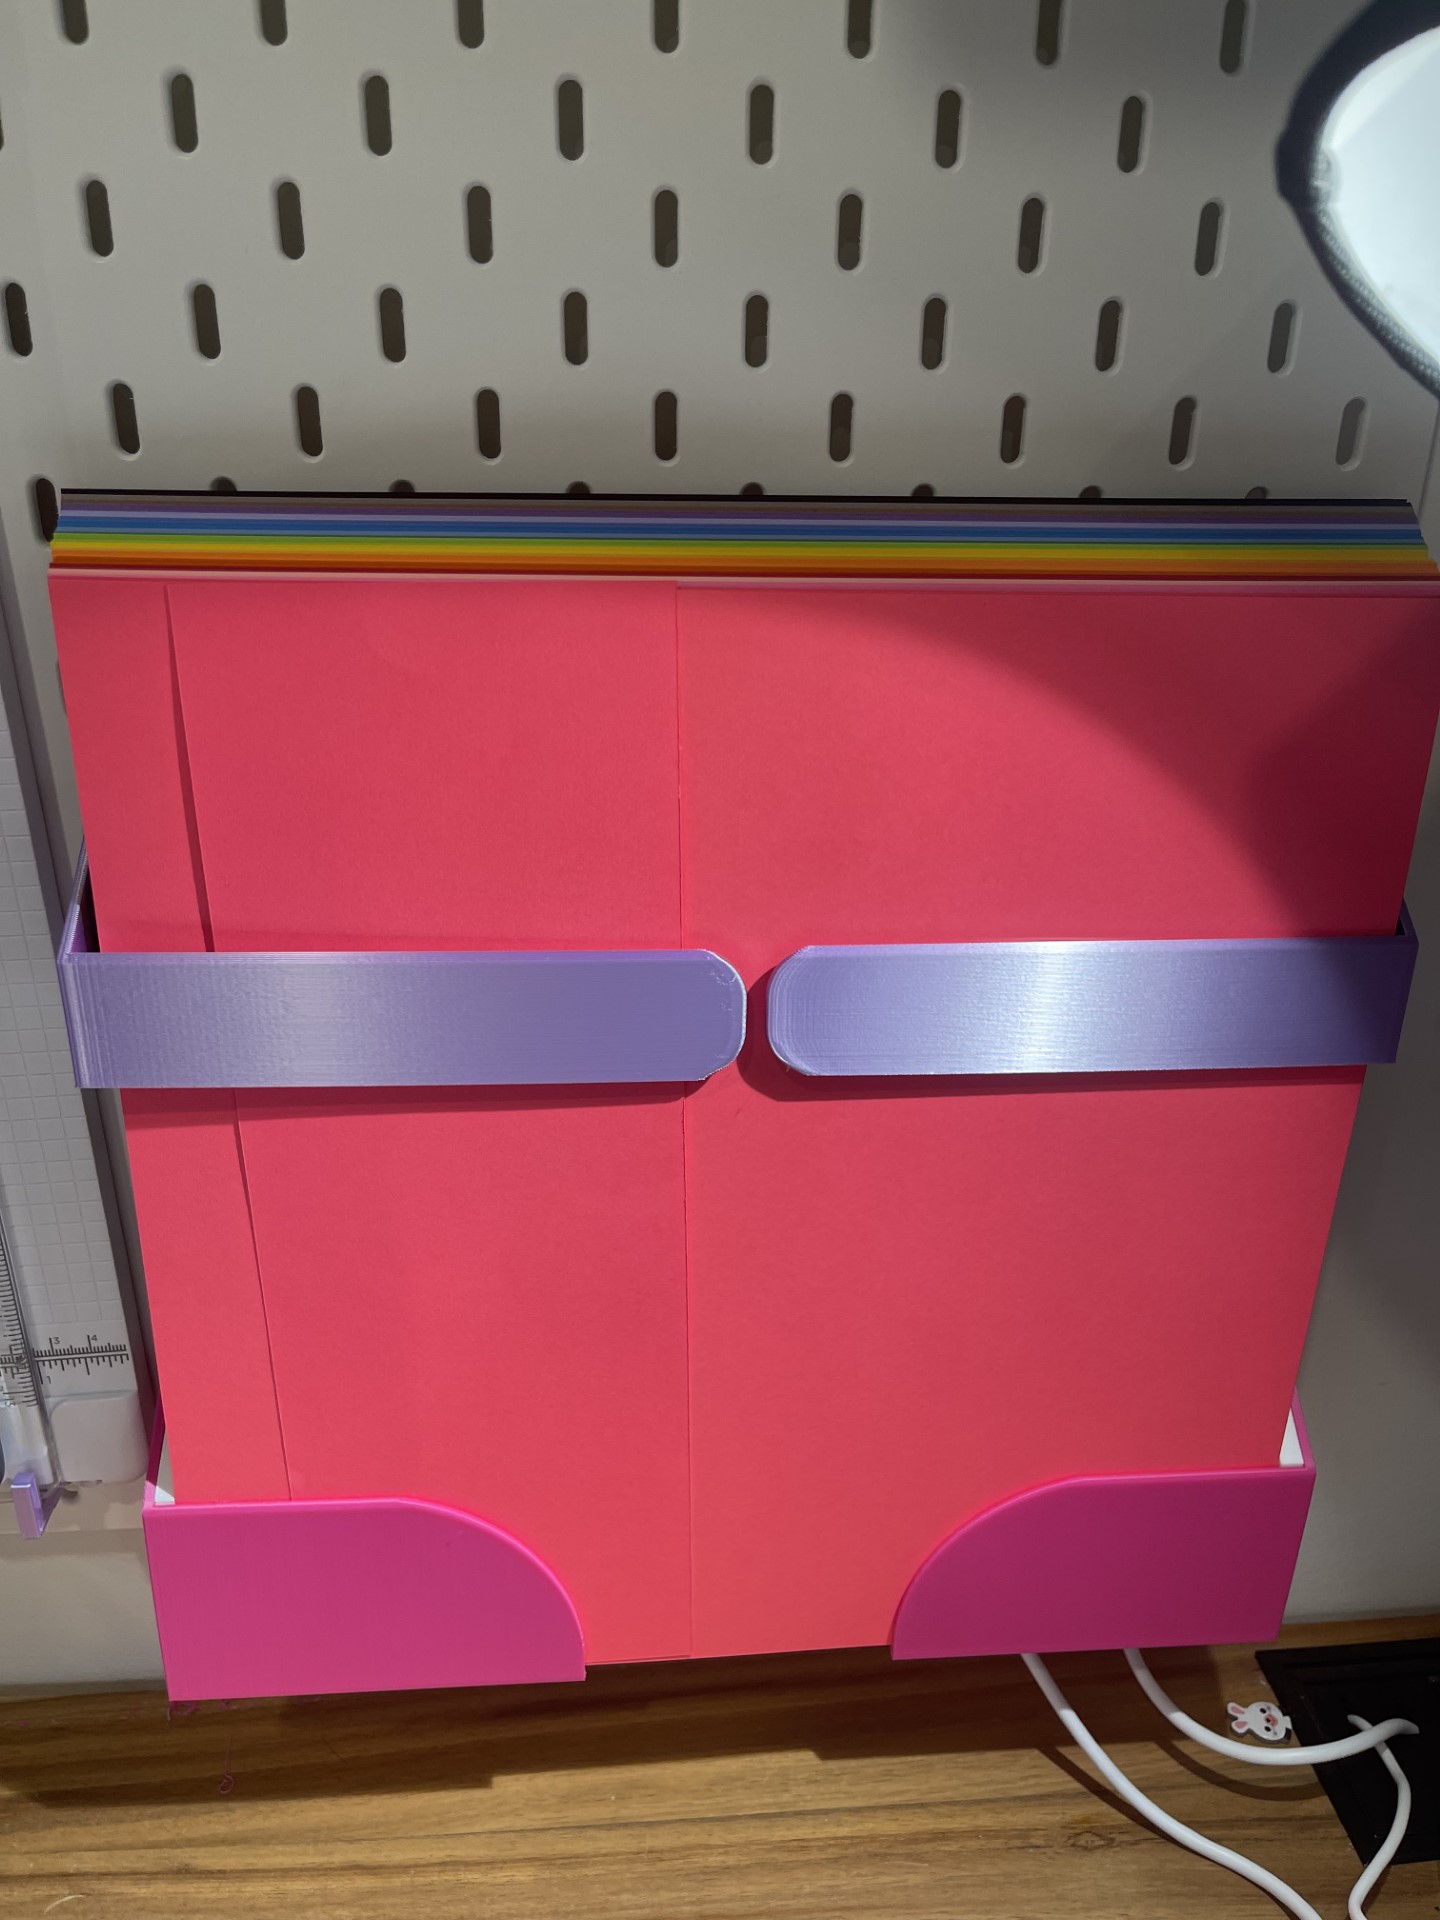
By incorporating storage containers, hooks, and other functional elements, you can create a system that not only keeps your workspace tidy but also inspires you to think outside the box. Cricut Desk Setup Hacks For A More Productive Crafting Session For example, you can use the Cricut machine to cut custom shapes for the storage containers or create a functional calculator or marker holder. A DIY Cricut desk organizer is a unique and functional project that can add a personal touch to your workspace. By combining functionality and creativity, you can create a system that truly reflects your style and work habits.
Whether you're a seasoned crafter or a DIY newbie, this project is a great way to get started with Cricut projects and take the first step towards a clutter-free workspace.